10 Min Quick Start Guide to Sending Newsletters With SendPress
This QuickStart guide has all the information you need to get up and running using WordPress to send newsletters using the SendPress plug-in. This post is not technical in nature and provides more broad strokes then detailed how-to information. We think anyone with basic WordPress knowledge should be able to follow along and get SendPress running quickly and easily by following these steps, but as always if you get stuck drop us a line (using the forums for support) or the contact page for sales and other non-technical questions.
-
Install and Activate
- The first thing you need to do to use SendPress is to install and activate the plug-in inside your WordPress site. Add a new plug-in through the WordPress.org repository from the “Plugins” sidebar on your site and search for SendPress. Once SendPress is installed, click the activate link (shown below) and a new sidebar option will appear on your WordPress site, called SendPress.

- Click on that new SendPress menu in the left sidebar and it should take you to the “What’s New?” page. Once you have satisfied your curiosity about what’s new, click on the Overview link on the left.
-
Basic Settings & Styles
- Since this is a new setup of SendPress, there will be a red warning box at the top of SendPress until you have completed setting up your basic information, since it is required to send e-mail messages.
- Click on the “information” link in the red warning box and it will take you to Settings > Sending
- Enter the “from name” and “from e-mail“. This is the name and e-mail address that newsletters and/or post notifications will be sent from by default. We strongly recommend that the from e-mail address be a mailbox that can receive bounce emails.

- You should also take this opportunity to enter your personal or business address in the CAN-SPAM box. This is required if you are sending messages to anyone inside the US. CAN-SPAM has moved to Settings > Styles. It’s worth noting that the rest of the Styles page contains our Legacy template system.
** You should NOT set your template styles here unless for some reason you haven’t upgraded to our new responsive template **.

- Be sure to save your changes.
-
Sending Account
- Now that you have completed setting up your basic information, we need to configure how you will send your messages. The free version includes the ability to send through your website (or web host) Gmail. If you plan on sending less than 500 emails per day then Gmail is a great option. If you plan on sending more than 1000 messages per day, you should consider a third-party sender. Pro has several 3rd party senders built right in, such as Mandrill, SendGrid, Amazon SES, MailJet, and more.

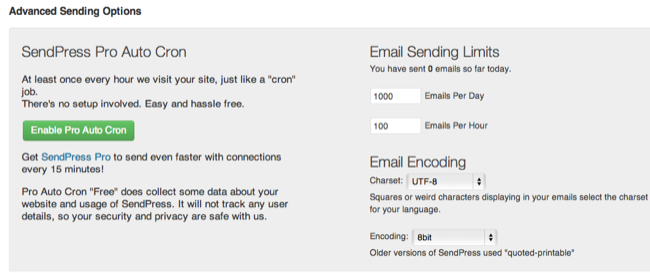
- You can optionally enable Auto Cron to improve message sending. with this setting enabled, we will check your site at least every hour to make sure that messages in the queue gets sent, even if your site does not get a lot of traffic. **Disclaimer: Enabling this feature does allow us to collect some anonymous information about how you use SendPress.
- Now that you have chosen how to send e-mail messages, you should make sure that you can send a test e-mail to yourself. At the bottom of the sending account page there is a box to enter an e-mail address and send a test e-mail. If you receive the e-mail, move onto the next step. If you do not receive the e-mail and/or the “debug info” box pops up with some information you should read our troubleshooting sending e-mail guide in the SendPress knowledge base.

-
Subscribers
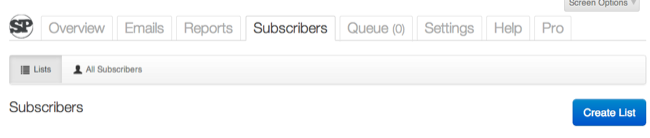
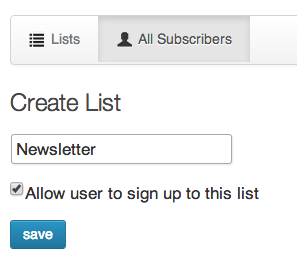
- Now that you are set up to be able to send e-mail from your WordPress site, you’ll need to create a subscriber list and maybe even add a few subscribers. Click on the Subscribers tab and then click the “create list” button. You can name your list anything you want, but keep in mind that your subscribers will be able to see that name when they manage their subscription. Our advice, keep it simple and call it newsletter for example.
- Name your list.
- For any list that you want people to be able to subscribe to on your website (using the subscriber widget or form for example) you must select the checkbox to “allow user to sign up to this list”.
-
Form Shortcode or SendPress sign-up widget
-
Shortcode
- Under Settings > Forms create a new Form.
- Configure the form accordingly.
- Copy the shortcode and then navigate to Appearance > Widgets and trac a Text Widget to the desired location and paste in the shortcode.
- Legacy Sign-up Widget
-
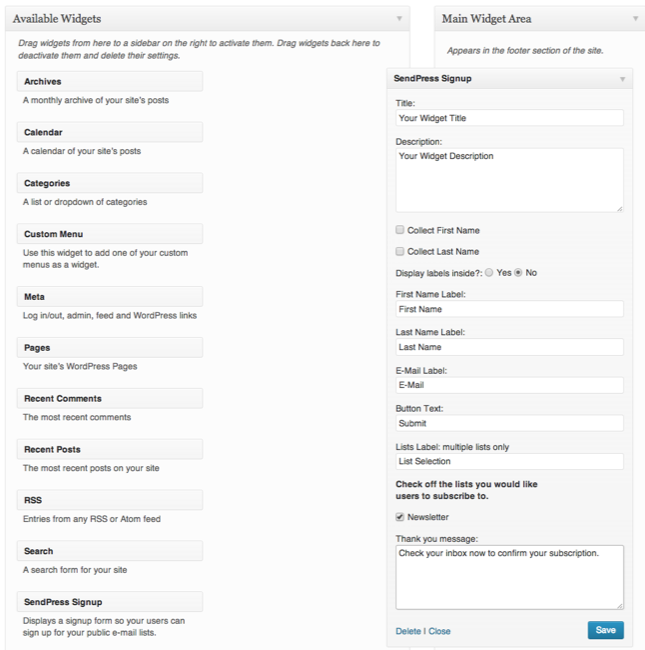
- Now that we can send e-mail newsletters and we have a few subscribers, we want to make it easy for new people to subscribe. SendPress comes with 2 different widgets. One widget allows visitors to your site to sign up for your newsletter, and the other allows them to subscribe to post notifications (Pro Feature coming in October).
- Using the WordPress sidebar on the left hand side, navigate to Appearance > Widgets. You can drag whichever widget you would like to use over to the widget container you would like the widget to appear in.
- Fill out some basic information that will tell visitors what they are signing up for and choose the list that you made public previously.
-
-
-
Send First e-mail
- You are almost done. Once you’ve gotten this far, take a little break and send your first e-mail. You’ll have the option to enter your own e-mail address before sending.
- Click on the “emails” tab and create an e-mail. SendPress will guide you through the rest of the process.
-
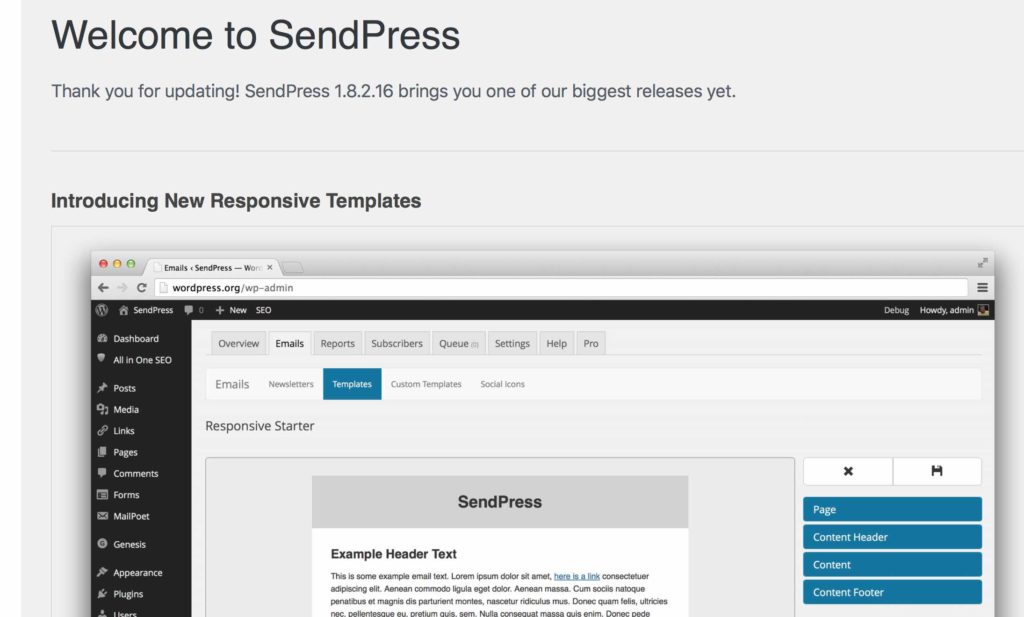
Basic Styles and Templates
- We recommend that you use our new Responsive Templates (October 2014). Instructions for setting them up are in our knowledge base:
- Setting up a Newsletter Template
-
Check out the Pro Features
- Now that you are a pro at SendPress, check out our features page to learn about the advanced features of SendPress Pro, including post notifications (as mentioned above), advanced reports, spam checking, API e-mail sending, and access to our fantastic support team to name a few.
Whenever I try to Update or Save or Send my first email, I get an error page with this message: “You do not have sufficient permissions to access this page.”
Seems my Updates get saved anyway, but the email never sends. How can I fix this? Thanks!
Steve
I believe this was fixed in a recent update. If you are still having problems, please start a topic in the support forums and we will be happy to help you out.
I updated today and i cant send an email. It let me edit and complete an email but when i go to send it give me an error to my website. What can I do?
Please post your problem in the forums and we’ll be happy to help.
http://wordpress.org/support/plugin/sendpress
Hi
we are having problem in sending mails . email saved , list and subscriber added, using gmail for sending password. around 1500 out of 7100 mail sent in past three days . all was fine but now from last 24 hours no mail sent .
please help to fix the issue.
I’m going to create a “ticket” for you in our system. Most likely though it’s your hosting company blocking SMTP ports.